Konfigurieren Sie Ihr Paypal-Konto
Paypal ist weltweit verfügbar und beliebt. Es erhebt keine Grundgebühren und die Einrichtung eines Kontos ist sehr einfach. Deshalb empfehlen wir es auf jeden Fall für den Einstieg in openAPPone. Es funktioniert wie ein nahtloser Ablauf, bei dem der Kunde auf die Paypal-Website weitergeleitet wird, um die Zahlung zu registrieren.
Paypal-Konto
Um mit Paypal bezahlt zu werden, benötigen Sie ein Geschäftskonto. Erstellen Sie ein Paypal Geschäftskonto oder erweitern Sie Ihr persönliches Konto auf ein Geschäftskonto. Gehen Sie zu den Paypal Einstellungen und klicken Sie auf Auf ein Geschäftskonto upgraden. Folgen Sie dann den wenigen Konfigurationsschritten.
Einstellungen in Paypal
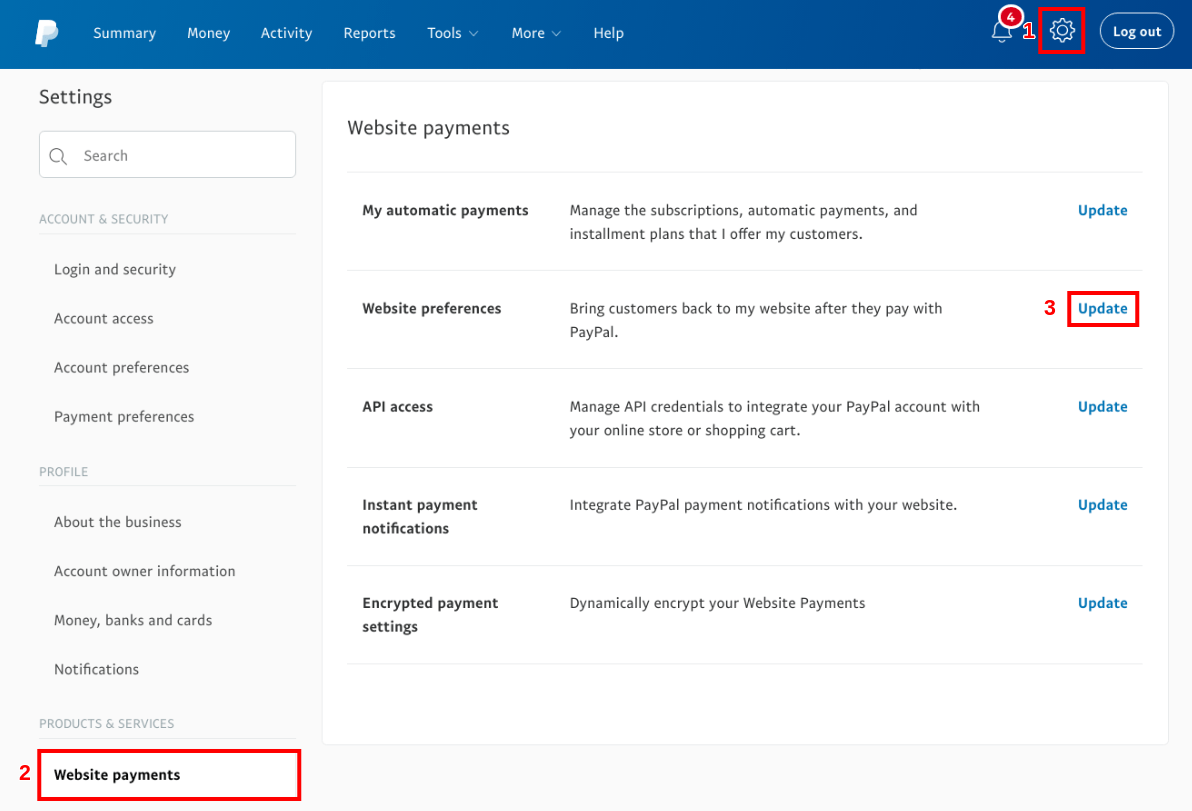
Website-Zahlungen” und klicken Sie auf Aktualisieren bei Website-Einstellungen.
Automatische Rückkehr
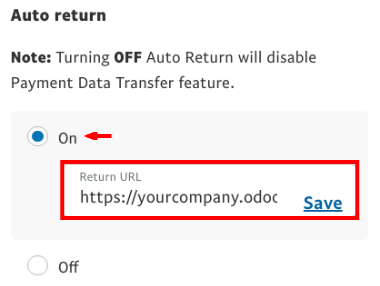
Auto Return leitet Ihre Kunden automatisch zu openAPPone weiter, sobald die
Zahlung verarbeitet wurde. Aktivieren Sie Auto Return und geben Sie Ihren Domainnamen
mit der Endung /shop/confirmation als Return URL ein
ein (z.B. https://yourcompany.appone.cloud/shop/confirmation).
Diese URL wird in Paypal angefordert, aber in der Praxis nicht verwendet, da openAPPone sie bei jeder Transaktion überträgt. Machen Sie sich keine Sorgen, wenn Sie mehrere Vertriebskanäle oder openAPPone-Datenbanken verwalten.
Zahlungsdatenübertragung (PDT)
Payment Data Transfer liefert die Zahlungsbestätigung an openAPPone, sobald sobald sie verarbeitet ist. Ohne sie kann openAPPone den Verkaufsvorgang nicht beenden. Diese Einstellung muss ebenfalls aktiviert sein. Beim Speichern wird ein Identity Token generiert. Sie werden später aufgefordert, ihn in openAPPone einzugeben.

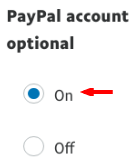
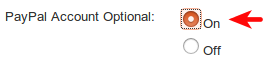
Paypal Konto Optional
Wir raten Ihnen, Ihre Kunden nicht aufzufordern, sich mit einem Paypal-Konto anzumelden wenn sie bezahlen wollen. Lassen Sie sie auch mit Debit-/Kreditkarten zahlen, sonst könnten Sie einige Geschäfte verlieren. Stellen Sie sicher, dass diese Einstellung aktiviert ist.
Sofortige Zahlungsbenachrichtigung (IPN)
PDT sendet Bestellbestätigungen einmal und nur einmal. Daher muss Ihre Website muss also laufen, wenn dies geschieht; andernfalls wird sie die Nachricht nie erhalten. Nachricht. Deshalb raten wir Ihnen, die Instant Payment Benachrichtigung (IPN) zusätzlich zu aktivieren. Mit IPN ist die Zustellung von Auftragsbestätigungen praktisch garantiert, da IPN eine Bestätigung so lange sendet, bis Ihre Website den Empfang bestätigt.
https://yourcompany.appone.cloud/payment/paypal/ipn).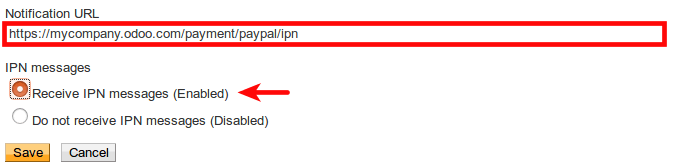
Payment Messages Format
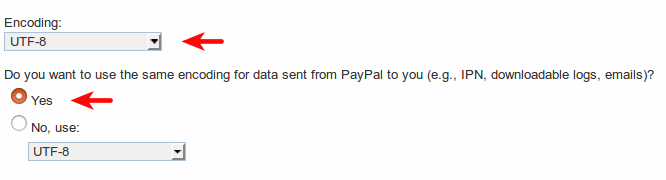
Wenn Sie akzentuierte Zeichen (oder etwas anderes als lateinische Grundzeichen) für Ihre Kundennamen, Adressen usw. verwenden, MÜSSEN Sie das Kodierungsformat der der von openAPPone an Paypal gesendeten Zahlungsanforderung konfigurieren.
Danger
Wenn Sie diese Einstellung nicht konfigurieren, schlagen einige Transaktionen unbemerkt fehl.
Öffnen Sie dazu:
Klicken Sie dann auf More Options und legen Sie die beiden Standardkodierungsformate als UTF-8.

Ihr Paypal-Konto ist bereit!
Tip
- Wenn Sie möchten, dass Ihre Kunden bezahlen können, ohne ein Paypal-Konto anzulegen,
Paypal-Konto optional muss aktiviert werden.
Tip
- Für verschlüsselte Website-Zahlungen & EWP_SETTINGS Fehler,
überprüfen Sie bitte die `Paypal documentation <https://developer.paypal.com/docs/
classic/paypal-payments-standard/integration-guide/encryptedwebpayments/ #encrypted-website-payments-ewp>`_.
Einstellungen in openAPPone
Activation
Activate Paypal from the config bar of Sales, Invoicing and eCommerce apps, or from the configuration menu of Payment Acquirers.
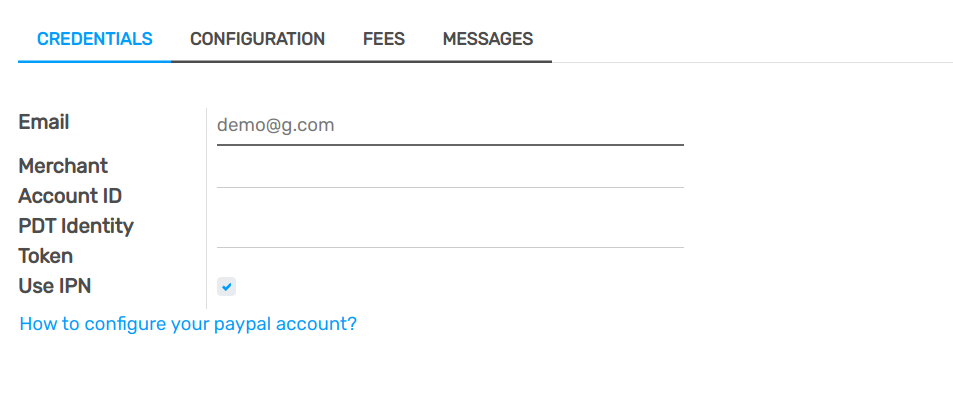
Credentials
openAPPone requires three Paypal credentials:
Email ID is your login email address in Paypal.
Merchant ID can be found in the settings of your Paypal account, in .
Paypal PDT Token is given in Website payments configuration as explained here above.
Transaction fees
You can charge extra fees to your customers for paying with Paypal; This to cover the transaction fees Paypal charges you. Once redirected to Paypal, your customer sees an extra applied to the order amount.
To activate this, go to the Configuration tab of Paypal configuration in openAPPone and check Add Extra Fees.
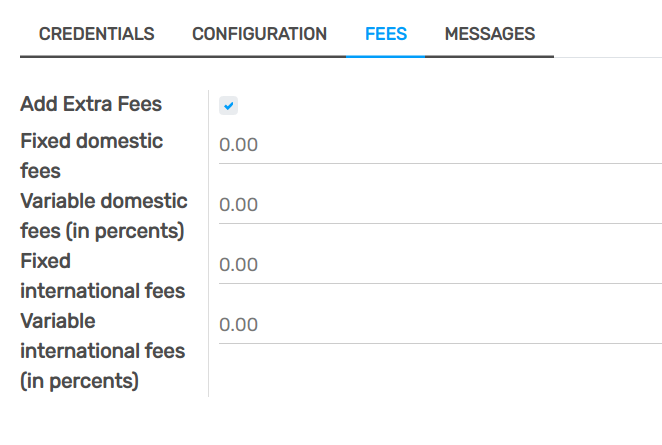
You can refer to Paypal Fees to set up fees.
Note
Traders in the EU are not allowed to charge extra fees for paying with credit cards.
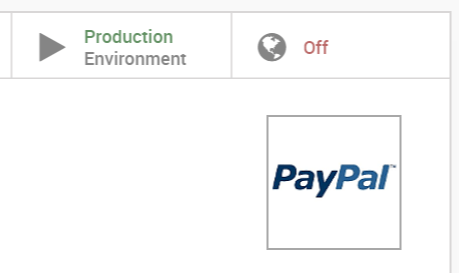
Go live!
Your configuration is ready to roll. Make sure Production mode is on. Then publish the payment method by clicking the Published button right next to it.
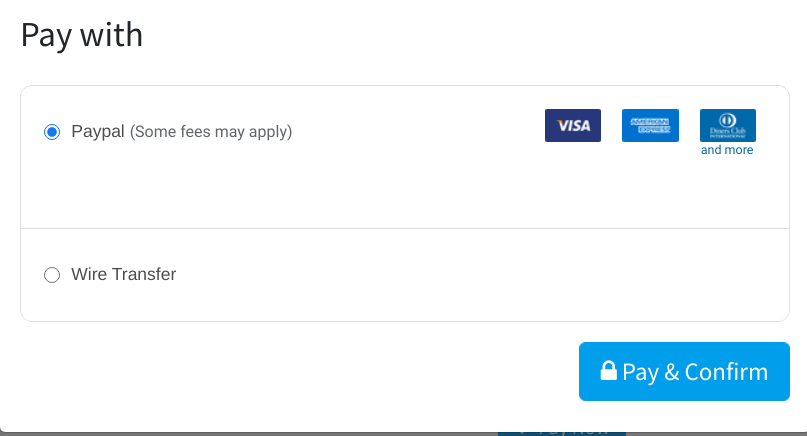
Paypal is now available in your payment form available in eCommerce, Sales and Invoicing apps. Customers are redirected to Paypal website when hitting Pay Now. They get back to a confirmation page in openAPPone once the payment is processed.
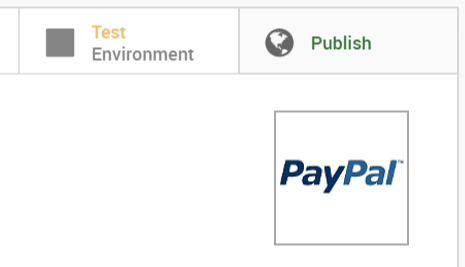
Test environment
You can test the entire payment flow in openAPPone thanks to Paypal Sandbox accounts.
Log in to Paypal Developer Site with your Paypal credentials.
This will create two sandbox accounts:
A business account (to use as merchant, e.g. pp.merch01-facilitator@example.com).
A default personal account (to use as shopper, e.g. pp.merch01-buyer@example.com).
Log in to Paypal Sandbox with the merchant account and follow the same configuration instructions. Enter your sandbox credentials in openAPPone and make sure Paypal is still set on Test Environment. Also, make sure the automatic invoicing is not activated in your eCommerce settings, to not generate invoices when a fictitious transaction is completed.
Run a test transaction from openAPPone using the sandbox personal account.